
I learned what I know about natural dyeing from books mostly, & from some communal dyeing with friends from my local spinning guild. The main book that I use is Jenny Dean's Wild Color, with an understanding that natural dyeing is the least reproducible of the arts, & what may seem like unexpected or disappointing results from one perspective can be beautiful colours from another. In other words, I haven't always gotten the results Dean publishes in the book, but it's a very good place to begin, technique-wise. I have been natural dyeing for more than 10 years, and documenting everything in a notebook has resulted in the best resource possible for natural dyeing :) I try to record results as well as process, so that I won't forget, for example, that silk needs to be removed from a brazilwood dyebath before it boils or the colour will leech right back out.
Before I begin the step-by-step, I want to mention some terms & procedures. The first is "weight of goods" (sometimes abbreviated as "WoG"). Weight of goods refers to the weight of what you're going to be dyeing, & it must be weighed dry. WoG is used to determine the amount of mordant used to fix the dyes in that material, & sometimes used to determine how much dyestuff to use as well. Another very important thing to remember is when handling wool & boiling water, always go from cooler temperature to hotter temperature. If you plunge wool from a boiling vat into cooler temperature water, it will felt. But if you always go hotter, you minimise felting. And although you do stir the yarn in the dye bath, doing it slowly not only minimises felting but prevents scalds from splashing boiling dyebath. When weighing things, I use the metric system- partly because it's easier to calculate percentages in a base-10 system, & partly because all of my scales are metric. Mordanting requires precise measurement, but if you have to estimate a bit, estimate higher so you don't under-mordant your materials.
And, of course, what is mordanting? Well, you can boil wool with pretty much anything & get colour to stick, but unless it's a particular dyestuff (like rhubarb leaves, black tea, or black walnut, which all contain tannins) the colour will be fugitive, or non-lightfast. Protein fibres, like wool & silk, will take dye the best- bast fibres, like cotton & linen, are harder to prepare in a way that natural dyes will stick to them, hence the need for (& popularity of) aniline dyes. The best way to make protein fibres lightfast is to mordant them with chemicals that create a chemical bond between the dye & the thing being dyed. Many mordants use heavy metals & are extremely toxic, but a few- like the above-mentioned tannin-containing materials- as well as alum, are much safer. Rhubarb leaves are toxic when ingested, so keep it away from the kids. Of alum, black walnut, & black tea, alum is the only one that doesn't act as a dye on it's own. so it's the best choice for mordanting anything you don't want to turn brown... :) Alum is used in conjunction with cream of tartar- I didn't really understand why until recently, reading an article at Geek Mom that explained that cream of tartar is a mild acid. I think that the cream of tartar (or "CoT" in my shorthand) balances the pH in the face of the alum, which is a mild base. Protein fibres take up dye better in an acidic environment, so this is my theory as to the use of CoT with alum.
 |
| alum & cream of tartar for mordanting |
The first step in dyeing is to prepare what you're going to dye. I decided to dye some Lion Brand Fisherman worsted wool. This is one of the yarns I usually choose because it comes in big, 8 oz (227g) quantities, is affordable, & I can buy it at my local JoAnn Fabric store. I decided to dye both white & natural grey Fisheman wool this time, just to see what I'd get. My other favourite yarns to dye are from KnitPick's Bare line of yarns. These are also affordable, in large-sized skeins, and in a bunch of different weights & fibre contents. This time I went for 2 fingering-weight yarns, the Gloss 70% merino/30% silk & Peruvian wool. These are in 100g put-ups, already skeined, but I add 2 more ties to prevent tangling. The Fisherman needs to be put into skeins before dyeing:

And then the skeins tied loosely (I alternate between the ends of the skeins of wool as ties & crochet cotton) in a figure-8 tie:

I use my niddy-noddy to put them into ~230 yard skeins, dividing each 8 oz ball in half. I also add tags made from washable interfacing, labeling the name of the yarn & the yardage or fibre content:

Because the Fisherman yarn still has some lanolin in it, & lanolin inhibits uptake of dye, I scour the Fisherman skeins before mordanting:

Then, knowing the weights of the combined skeins of yarns from the label (3x 227g balls of Fisherman + 2x 100g skeins of KnitPicks wool= 881g WoG) I measured my mordants. The ratios I use are 10% WoG for alum & 5% WoG for cream of tartar, so I measured ~90g of alum & ~45g of CoT (using an old yoghurt cup). I half-filled my big mordanting pot with hot water & added the mordants, stirring well. Then I added more hot water to ~3/4 full. I added the wetted skeins to the pot, stirring them gently but completely into the water. It's important to keep the skeins moving as you go, so they don't take the mordant (of the dye, for that matter) unevenly. I use an old metal spoon for this, but an old wooden spoon, dowel, or anything heat-resistant will work. Then I put the pot on the stove & put the heat to high. I use an old rag or cottage cheese lid as a spoon rest while dyeing.
A brief word about tools- never use food cooking pots for dyeing, not matter if you're using food-safe dyes (or dyes that are food...). Although I can get a bit lassaize-faire with my measuring equipment when using alum, etc, I routinely use dye pots (& spoons, bowls, colanders, etc) for dyeing & keep them in the basement when I'm not dyeing. Dye pots get stained over time, too, & not all dyes are safe around food, kids, & pets, so it's just sensible to be careful.
Back to the mordanting:

If you are inclined, you can make the dye bath while you're waiting. I didn't have time on Monday, so I turned the heat off after an hour & just let the pot sit for the rest of the day (safest way to handle hot skeins is to let them cool first :). My understanding is that the mordant is completely taken up during this process, so you could reuse the leftover water for another mordanting session, (add more mordant) or even for making dyebath, if you want.
On Tuesday morning I excavated the onion skins from the basement where they'd been waiting for so long. I actually had 2 shopping bags full of them, but was reminded that onion skins have a mind of their own, being so crackly, light, & fluffy. So I was only able to jam one bag full into my big dye pot.


I added water to bring the pot to 3/4 full, stirred it, then added the still-wet, mordanted skeins. I only added 5 of them- 2 white fisherman wool, 1 grey fisherman, & both KnitPicks skeins. I saved the other 3 skeins for the exhaust bath, for lighter shades. I added the skeins as quickly as possible, because I've had mordanted skeins pick up the dye so quickly that easing them in slowly caused uneven shading.
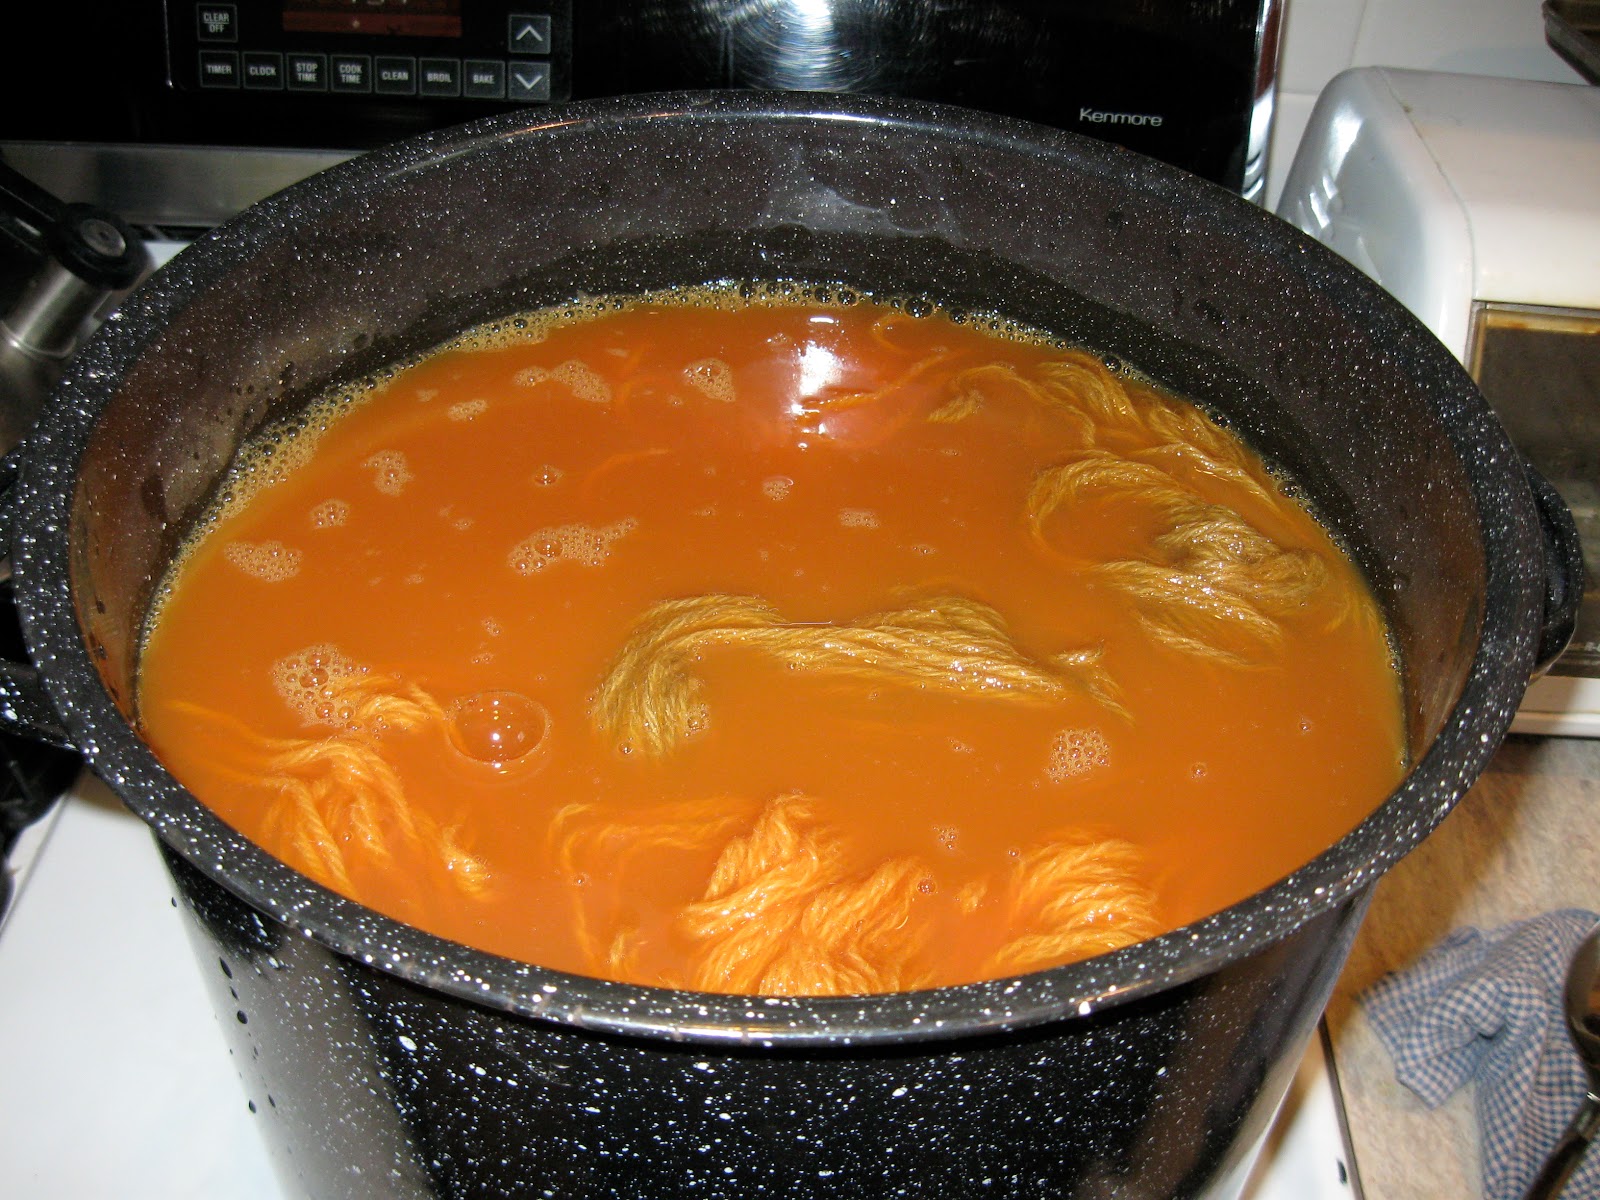


I find it really interesting how different wools will take the dye differently.


If you happen to try this, please share your results & observations in my comments section. Thanks!
Lisa!
ReplyDeleteWhat a fantastic blog entry!! I just love it! Thanks again!
-Rachael
Thanks so much for your comment! I hope you'll find this info useful.
ReplyDelete